Using Template Directives in E-Mail Templates (APEX Mail #11)

We have described the most important things about "Emails with Oracle APEX" in the previous blogs. However, new features are added in new releases and so we would like to continue the series to describe them as well.
#11 Using Template Directives in E-Mail Templates
In this blog post we would like to describe the Template Directives feature introduced in APEX 22.1.
Template directives are supported only by specified attributes of cards, interactive grids and email templates. These directives are processed as part of client-side substitutions. Template Directives allow you to apply client-side directives to control the display and formatting of data returned by SQL.
The following directives can be applied
- If Condition Directives (if, else, elsif, endif)
- Case Condition Directives (case, when, otherwise, endcase)
- Loop Directives (loop, endloop)
Why and when to use template directives
- Clean Code! Keep your SQL as simple as possible
- Security! No RAW Syntax needed, so the risk of cross-site scripting will be reduced
- Performance! Reduce the size of SQL results
Let´s start by creating a demo app
Create a new application in the App Builder. In the wizard you can name your application "Email Demo #11" for example. Our application is now ready to add more components. The home page has no regions at the moment.
Create an Email Template
Let´s create an Email Template first. To do this, go to "Email Templates" under "User Interface" of the Shared Components section.
For our newly created template, we enter the following information:
Template Name: Hello Employee
Static Identifier (will be generated automatically): HELLO_EMPLOYEE
Email Subject: Hello Employee
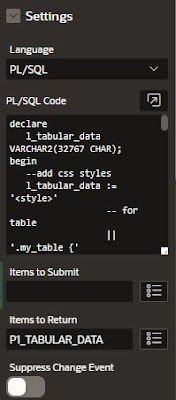
Then we can populate the HTML snippets for our template.
Header:
1 | <H1>Hello Employee!</H1> |
1 2 3 4 5 6 7 8 9 10 11 12 13 14 | <p>Hello #NAME#,</p> {case JOB/} {when SALESMAN/} <p>your salary is <strong>#SAL#</strong> and your commission is <strong>#COMM#</strong>.</p> {when PRESIDENT/} <p>your salary is TOP SECRET!</p> {otherwise/} <p>your salary is <strong>#SAL#</strong>.</p> {endcase/} <p>Note: This is an email sent from <strong>Oracle APEX</strong>.</p> <p>Best Regards</p> |
From Line 3 to 10 we will see the Template Directive.
In this example we use the "Case Condition Directives"!
The {case/} directive compares the job title from the SQL statement and returns a combination of "SAL" and "COMM" should the job title be "SALESMAN". If the job title is "PRESIDENT" then nothing is returned and for all other comparisons only "SAL" will be returned.
And this is how it looks in the APEX Builder:

By clicking on "Create Email Template" we have created the template and can now use it in our application.
Create the Home-Page
Now our application is ready to add a region, some components and a process to send emails.
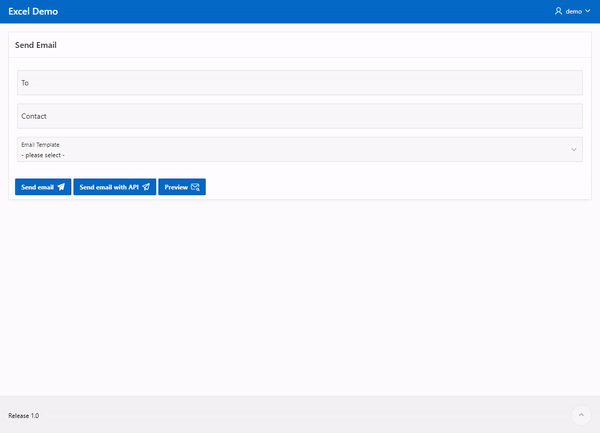
First, add a "Static Content" region to your "Body" and name it for example "Send Email".
Then add a "Text Field" Item to this region, name it "P1_TO" and select "Email" as the subtype. This new Item will have the address of the email recipient.
Finally, the page needs a button to send an email. So add a button "Text and Icon (Hot)" to the "Close" position. Name the button "Send" and use e.g. "fa-send" as the icon and "Send email" as the label.
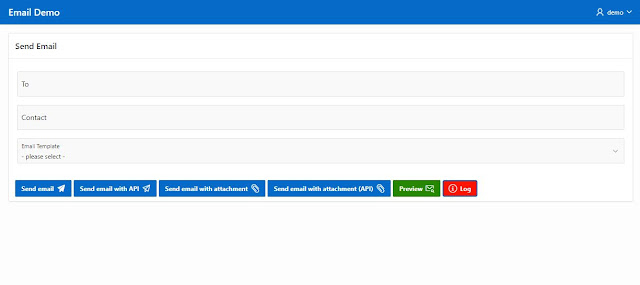
When you start the application now, it should look like this.

Create a process to send the email
Next, we need a process to send an email when we hit the "Send Email" button.
Therefore, switch to Processes in the tree structure and create a new process. For example, name it "Send mail" and select the type "Execute Code".
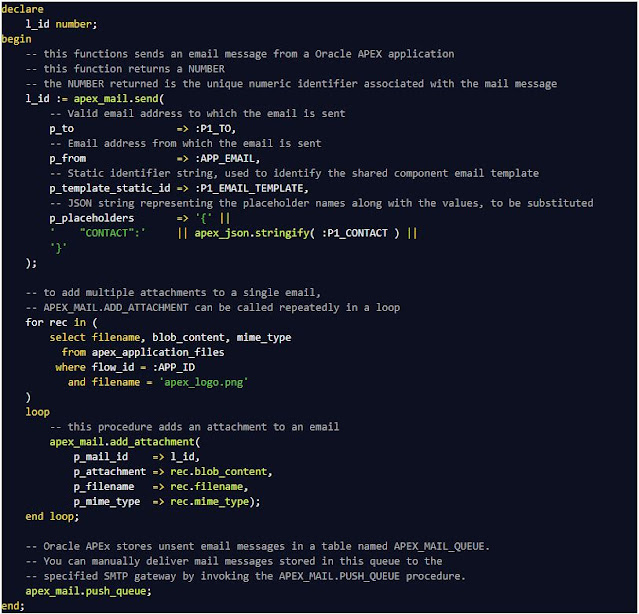
Under Source, enter the following PL/SQL Code:
1 2 3 4 5 6 7 8 9 10 11 12 13 14 15 16 17 18 19 20 21 22 23 24 25 26 27 | begin for rec in ( select ename , job , sal , comm from emp ) loop apex_mail.send ( p_to => :P1_TO, p_from => :APP_EMAIL, p_template_static_id => 'HELLO_EMPLOYEE', p_placeholders => '{' || ' "NAME":' || apex_json.stringify( rec.ename ) || ' ,"JOB":' || apex_json.stringify( rec.job ) || ' ,"SAL":' || apex_json.stringify( rec.sal ) || ' ,"COMM":' || apex_json.stringify( rec.comm ) || '}' ); end loop; apex_mail.push_queue; exception when others then apex_debug.error('Critical error %s', sqlerrm); raise; end; |
Note: The Sample Dataset "Emp/Dept" must be installed for this example.
Finally, enter the success and error message and the server-side condition when the process should be executed.
Success Message: Emails sent
Error Message: Emails sent failed!
When Button Pressed: Send
That's it. Let's start the application again and try to send emails. Enter your email adress in the "To" field and click on the "Send email" button. Then you will receive an email for each employee from the EMP table.
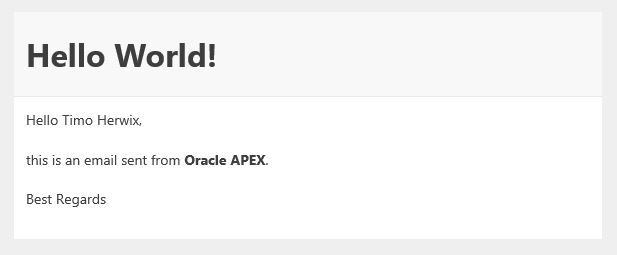
Here are some examples of what email results should look like.
Example: Salesman

Example: President

Example: Manager
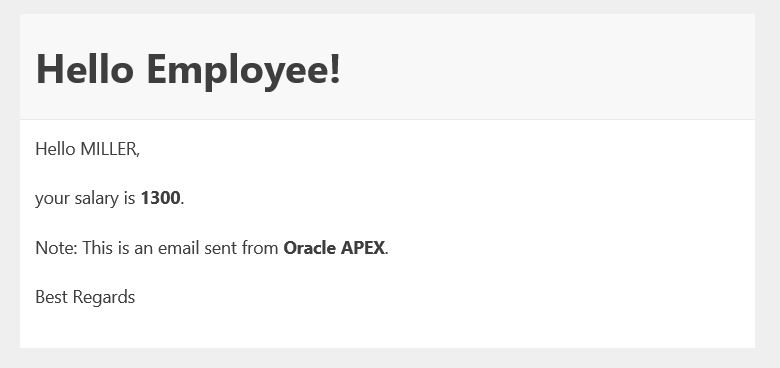
As you can see, the text in each email is different depending on the job title. And this is exactly what we have achieved with the new Template Directive feature! No complex buisness logic in our SQL-Code. Good performance and no security issues :)
So, that was a simple example...feel free to look at the if or loop directives and what you can do with them ;)
Here is the link for the demo app.